This is meant as a guide for submitting design reviews. Please know there is a team dedicated to this process, and they do their best to get back to members in a timely fashion. That being said, below are a few tips that will speed up the process.


Design Review Tips
Plan Ahead
The design team often handles multiple reviews at one time, and some are more involved than others. Before scheduling the work, be sure to account for time – sometimes a month or more – the team will need to review your submission. They may respond to your submission with additional requirements you may need to fulfill before the work can be approved.
Know your Easements
Some lots have utility or other easements. Be sure you are aware of these ahead of time. The plan may need to reconfigured if you want to plant or install something that falls within an easement. In some cases, exceptions can be made and you may plant or build in these areas, but then the homeowner is responsible for any damages or replacements that may occur if, for example, the electric company has to remove your feature to conduct work.
Provide Detailed Plans
The team needs to know the specifics of your plan before they are able to approve it. For example, if you’re considering installing a fence, provide a site plan with dimensions, such as the distance your fence will be from the lot line, the length of the fence on all sides, and the distance from the corners of your home where the fence terminate against your home.
Know the Materials
In most cases, the community mandates the specificity of what you plan on installing. For instance, if you want to plant a tree, it must be from the approved tree list. If you want to install a fence, it must meet the requirements outlined the the Design Code (included at the top of the page). Exemptions are considered, but in the vast majority of instances they are denied, and you can save yourself time by knowing what is allowed and what is not.
Guiding you through the process.
After considering the tips above, email the design team your plans.
- Compile your plans.
- Email the design team.
- Wait for the design team to email back.
- They may have additional questions, requests, or requirements.
- Gain approval.
- Proceed with plan.
FAQs
How long does it take to get approval?
This depends on the level of detail of the plans you submit, the current workload of the design team, and the availability of the team.
If you submit detailed plans, the team is far less likely to email you back with additional requests such as the the location of the item, the type of material, and the dimensions of the feature. The team is not very large, and most community members submit their plans in the summer. During this time, there may be a delay as the team is working on multiple approvals at once. They do their best to respond to your email right away acknowledging the request and to provide a timeline. The Design Team members wear multiple hats, and they are sometimes travelling to other sites, working on other projects, or taking some time for themselves. It is important you plan for the time it takes for them to work through your request to avoid the pressure of time. Your project cannot start without the team’s approval, and you risk having to remove or change your feature if you start without permission.
What do I need to submit plans for?
Design approvals are more often required for exterior changes than interior changes. If you are simply conducting a replacement-in-kind, an approval process is not necessary. For instance, if a bush dies and you’re going to replace it with the same bush, you do not need to submit an approval. However, it you are adding something to your property, like a patio, a design review is required. Each item is different, so if you have specific questions, it is best to check with the design team before beginning the work.
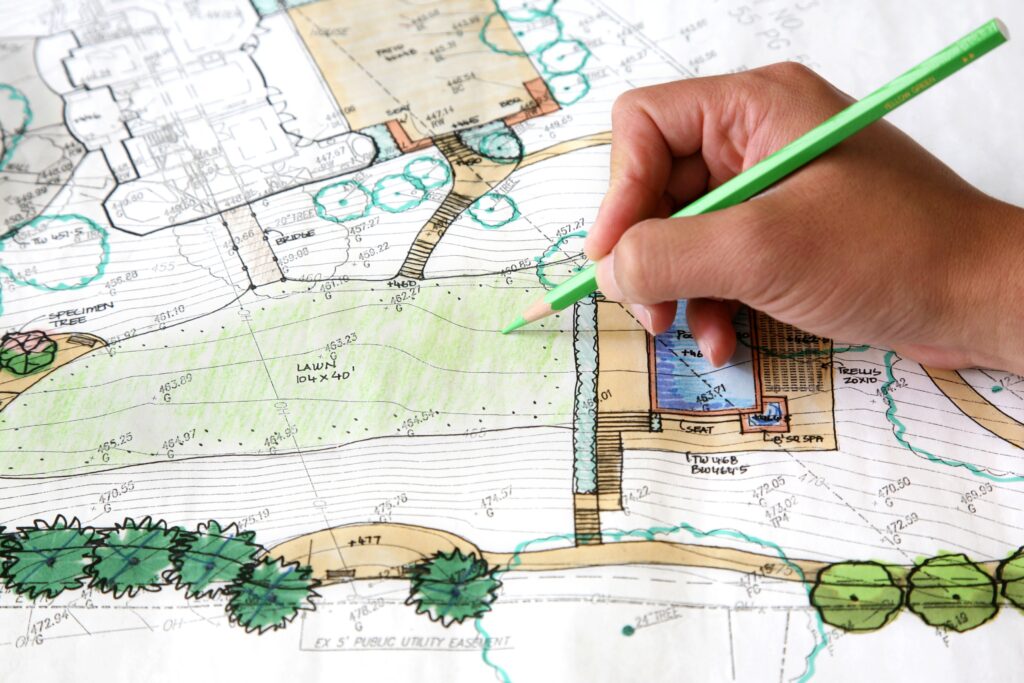
What do my plans need to look like?
The team suggests using actual images or plans of the feature when submitting requests. For example, if you are changing your siding or brick, a front elevation image is great to include. If you’re putting in raised garden beds or a fence, consider snipping your lot from Google maps or using plans from your builder as the base for your plans with the location of the new feature indicated over it on your lot. The team would like to dissuade members from hand-drawn plans as they are often not detailed enough to accomplish the approval process.